Download

Cabinet design add-on for Blender

Design cabinets in Blender.
Send them straight to the CNC.

BlendCab turns your Blender model into production data: panel sizes, edge banding, grain and holes. Nest sheets in the cloud and export NC programs, labels and DXF drawings without typing a single dimension twice.

Version 0.2.75 · 5.5 MB · Windows · Blender 4.0+

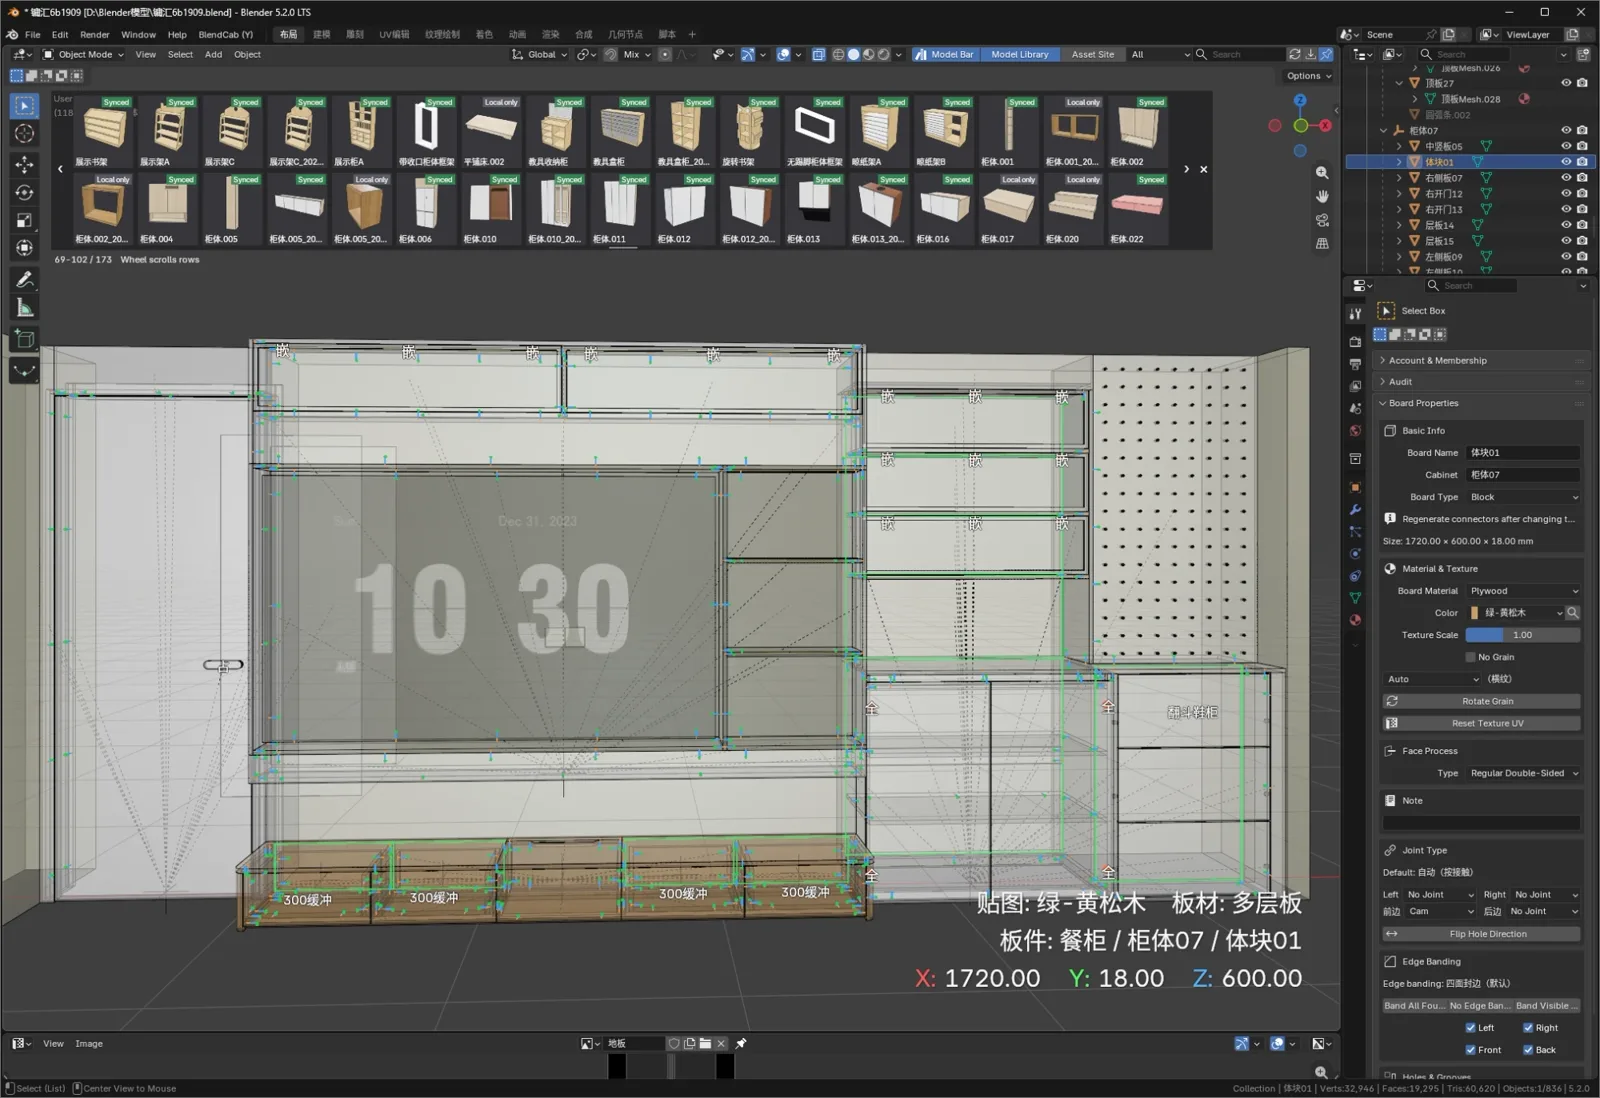
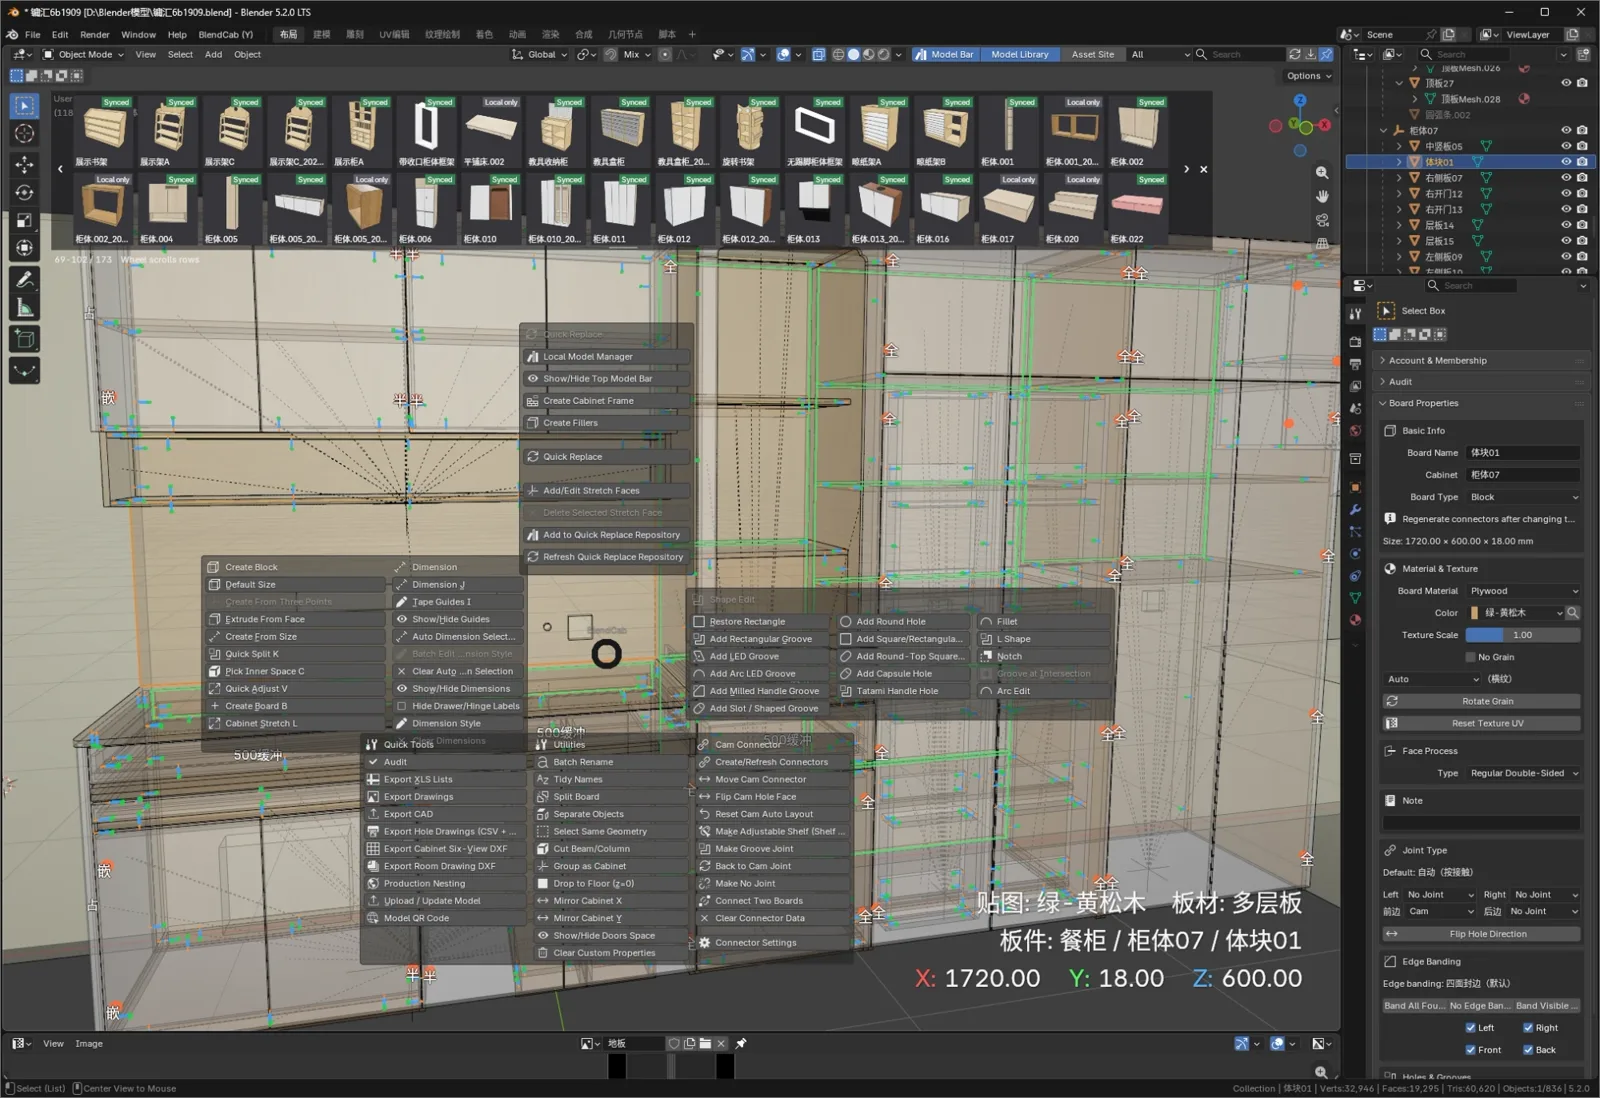
A TV wall unit with drawers and a shoe cabinet modelled with BlendCab in Blender: the model bar across the top, board properties on the right

The whole workflow in six minutes

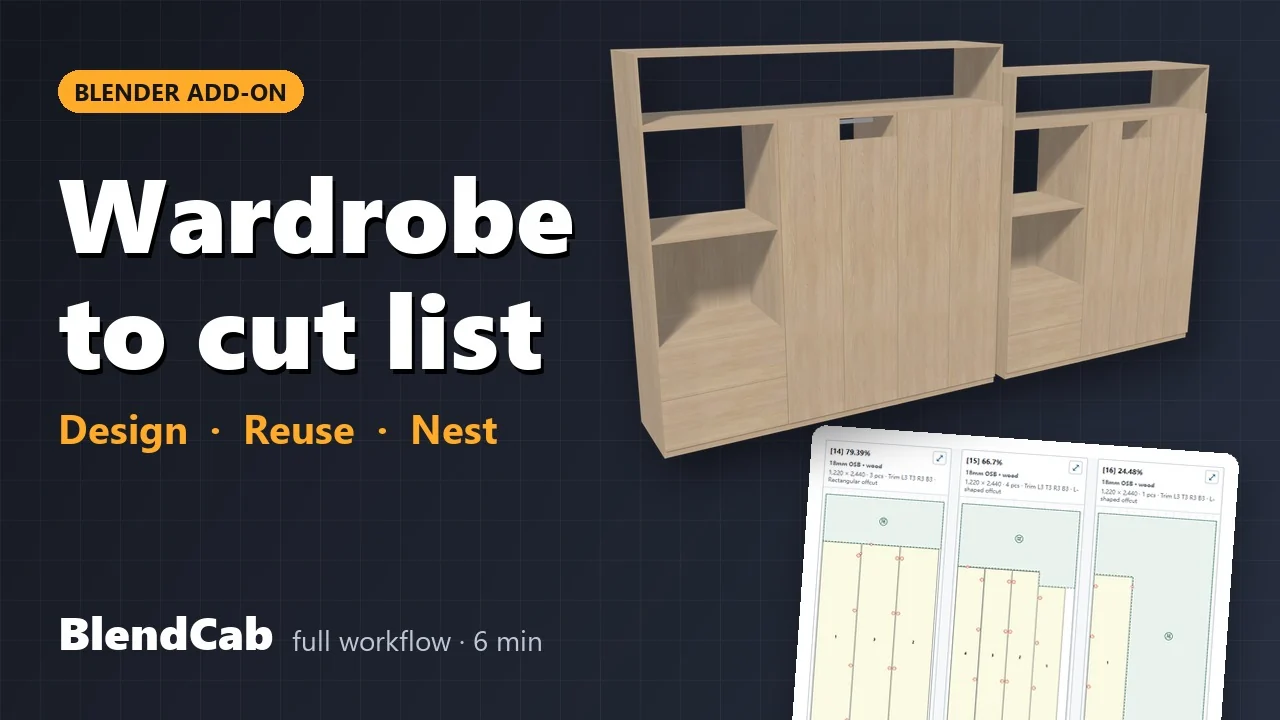
Install the add-on, build a wardrobe, save it to the model library and reuse it, then nest the sheets and export NC programs, labels and the hardware list.

Model library, in five short videos

Watch the playlist on YouTube →
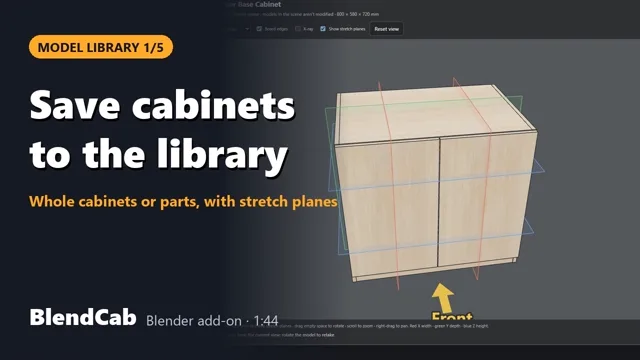
  1. Model Library 1/5: Save cabinets to the libraryPlay: Save cabinets to the library (1:44)

    1Save cabinets to the library 1:44

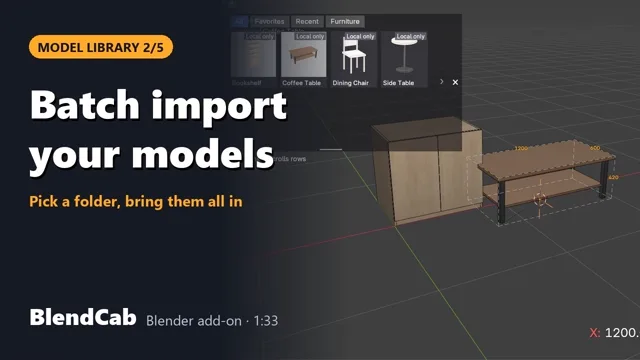
  2. Model Library 2/5: Batch-import your Blender modelsPlay: Batch-import your Blender models (1:33)

    2Batch-import your Blender models 1:33

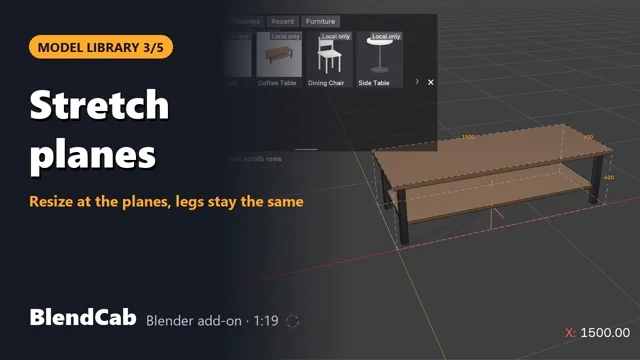
  3. Model Library 3/5: Stretch planesPlay: Stretch planes (1:19)

    3Stretch planes 1:19

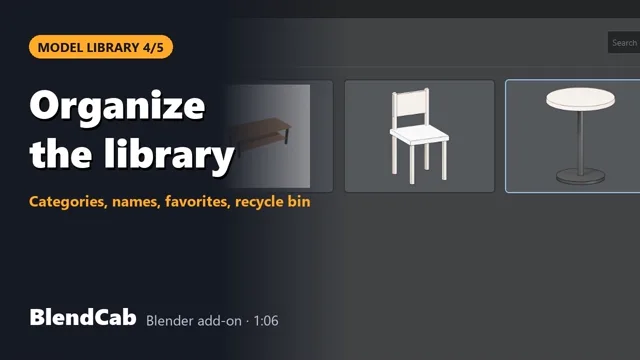
  4. Model Library 4/5: Organize the libraryPlay: Organize the library (1:06)

    4Organize the library 1:06

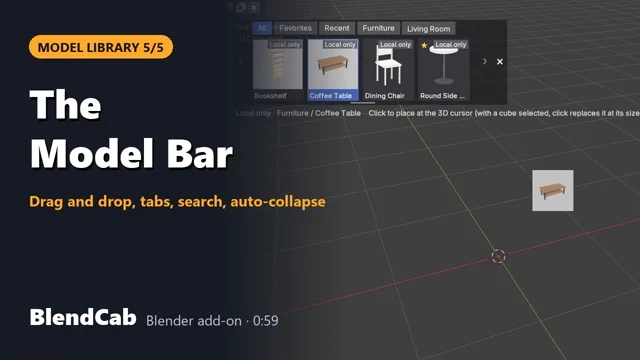
  5. Model Library 5/5: The Model BarPlay: The Model Bar (0:59)

    5The Model Bar 0:59

More tutorials

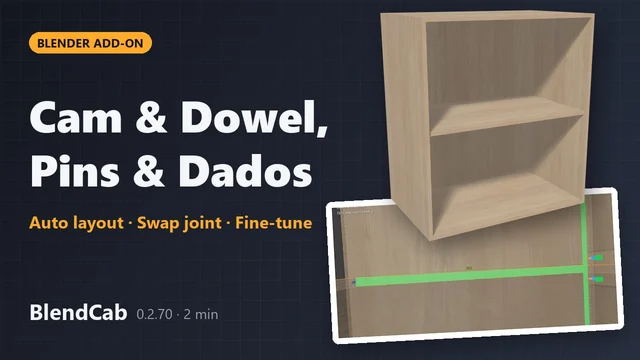
  1. Connectors: cam & dowel, shelf pins, dadosPlay: Connectors: cam & dowel, shelf pins, dados (1:41)

    Connectors: cam & dowel, shelf pins, dados 1:41

One model, from design to installation

Sizes, banding, grain, holes and grooves all come from the model. Change the design and the nest, the labels and the installer’s 3D view follow.

Designin Blender

Your model is the production data

Build carcasses, interiors and fronts with a few shortcuts. Every panel knows its size, material, edge banding, grain and holes.

  • Press B to add shelves, uprights and dividers
  • Pick a bay with C and drop in doors or drawers
  • Cam-lock fittings are placed for you
  • Audit flags panels that can’t be cut before they reach the shop
Nestin your browser

Nest sheets and cut NC in one click

Send the whole job to the cloud. Parts are nested onto your sheet stock and the cutting order is tuned for the router.

  • Grain direction respected: grained parts never rotate the wrong way
  • Narrow strips cut first, large panels last, so parts stay put
  • Material and hardware lists you can edit before export
  • Nesting improves on the server, no add-on update needed
Assembleon a phone

Scan a label, see where it goes

Every panel label carries a QR code. Installers scan it and see, in 3D, which cabinet and position the panel belongs to.

  • Clients scan a code to view the whole design, no login
  • Report a damaged panel from the phone for re-cutting
  • Re-upload a revised design and the QR codes stay the same
The BlendCab menu open over a cabinet model in Blender: create, dimension, shape edit, quick tools, utilities and cam connector commands
Press D in the viewport for every BlendCab tool: building, shape edits, connectors, exports and production nesting.
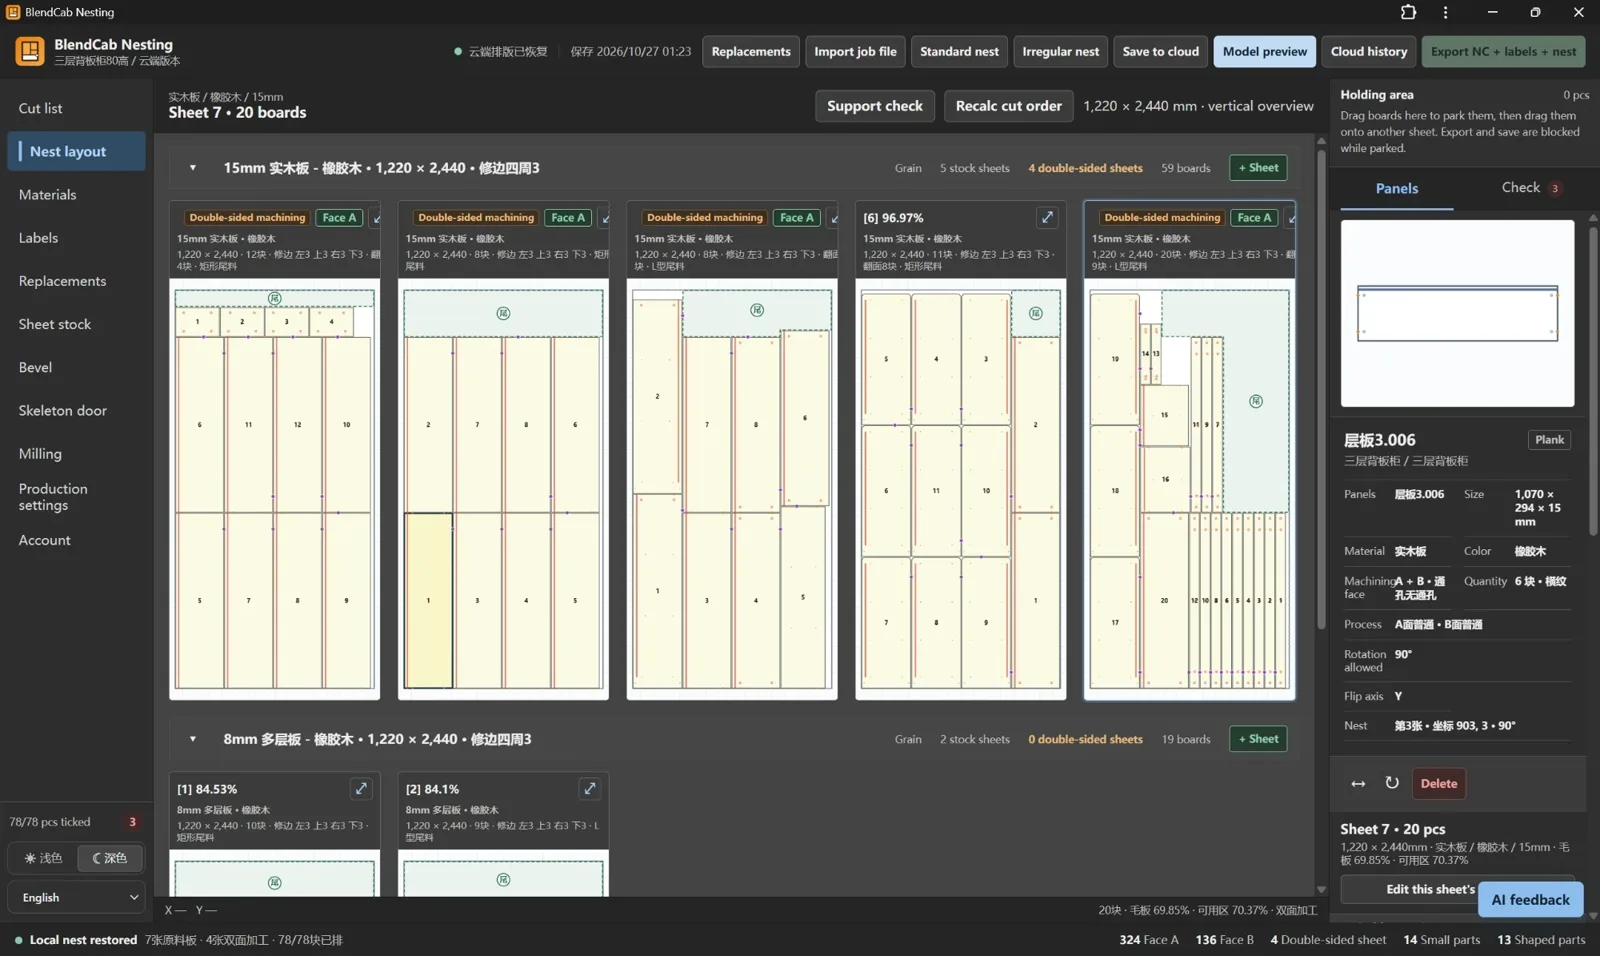
The BlendCab Nesting page in a browser: nested 1220 × 2440 mm sheets with numbered parts, and the selected panel’s details on the right
Cloud nesting in the browser: sheets, double-sided machining, cut order and NC export on one page.

Files your shop already works with

One click in the nesting page downloads a zip with everything the workshop needs. Drawings are plain DXF, so they open in AutoCAD, DraftSight, LibreCAD or your CAM software.

NC programs
G-code for every nested sheet, ready for your CNC router.
Panel labels
60 × 40 mm thermal labels as PDF, each with its own QR code.
Six-view drawings
Cabinet elevations as DXF with automatic overall and segment dimensions.
Hole drawings
Per-panel DXF/PDF with hole and groove positions, plus a cut list CSV.
Material summary
Sheets and edge-banding totals, exported as CSV.
Hardware list
Hinges, slides and fittings counted from the model.
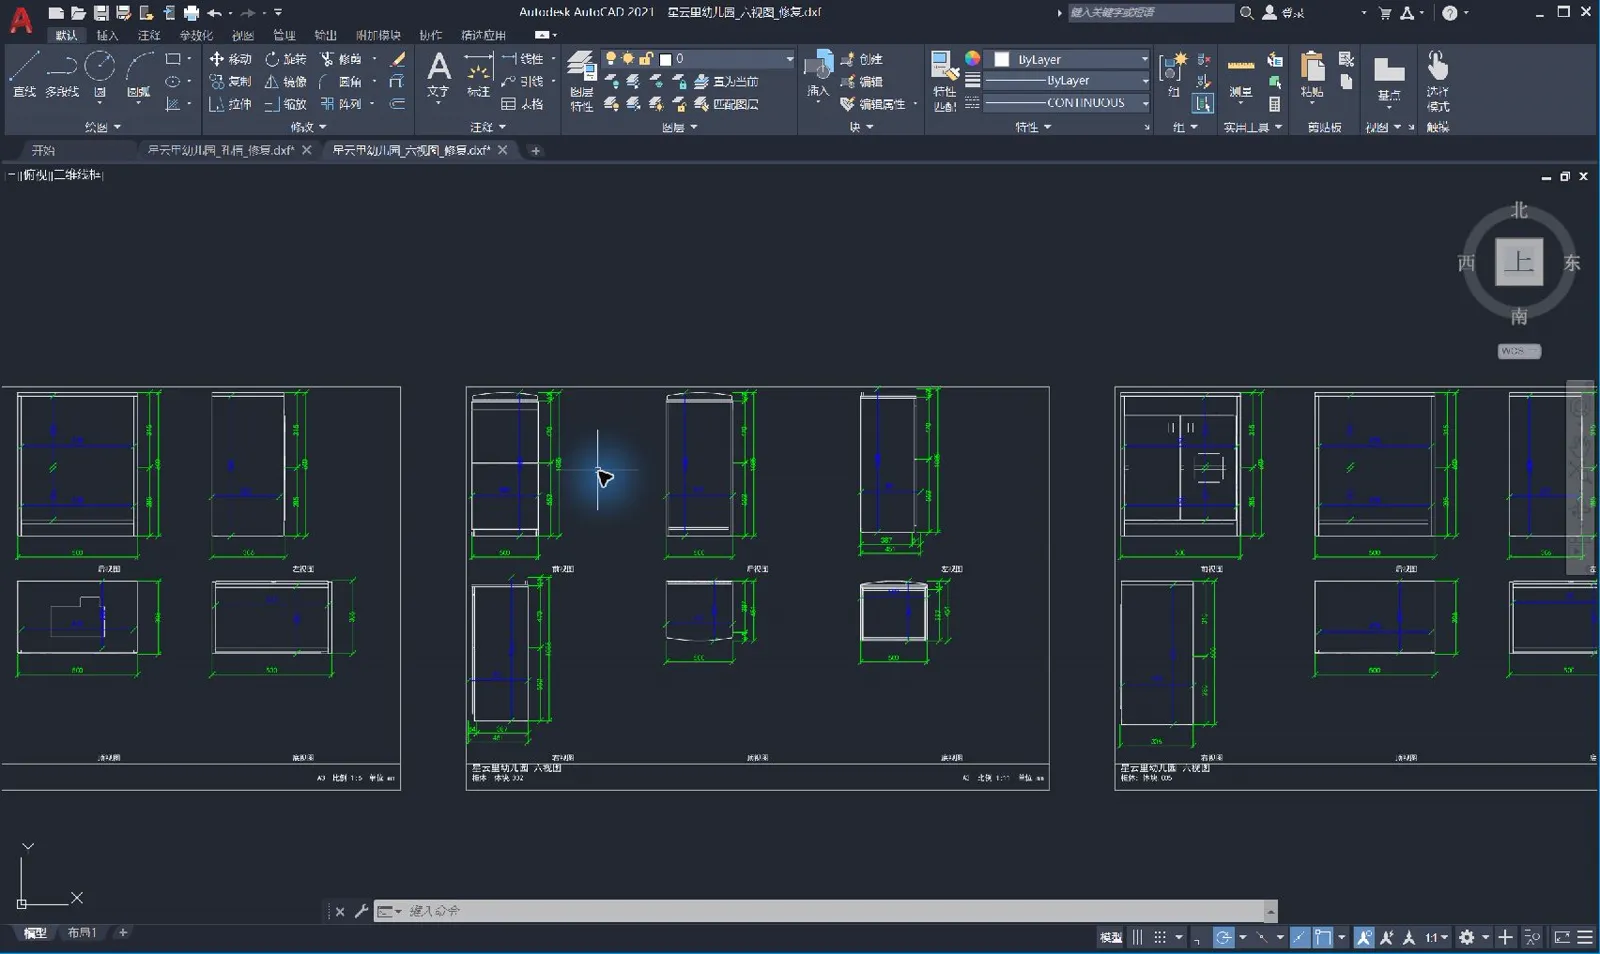
Six-view DXF drawings of cabinets with automatic dimensions, opened in AutoCAD
Six-view cabinet drawings exported as DXF.
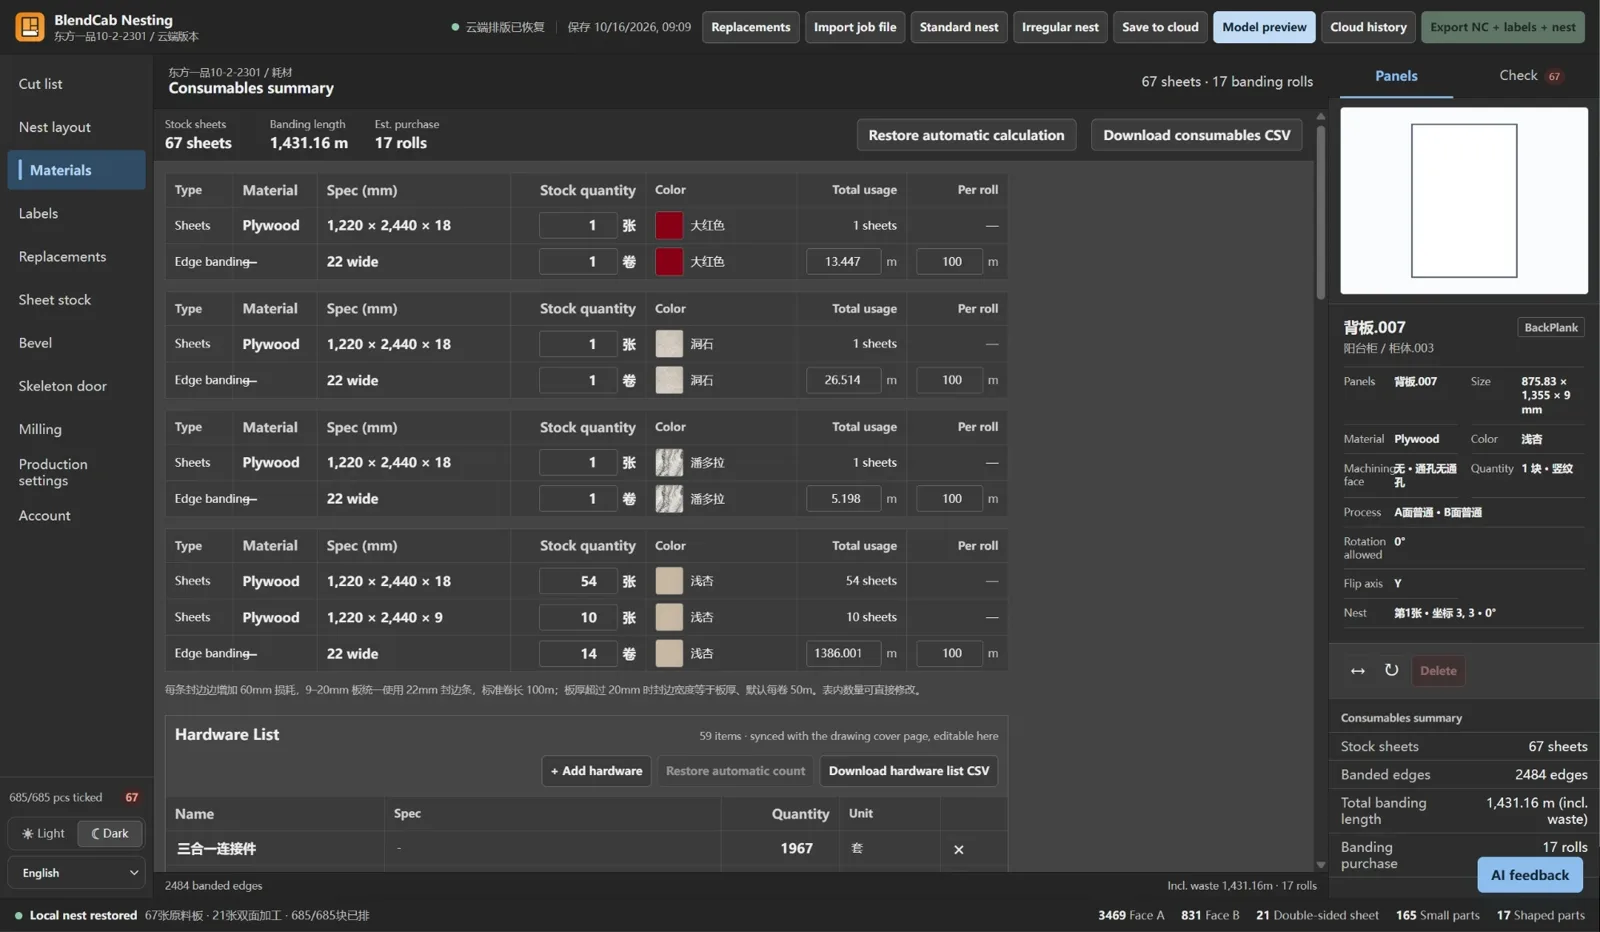
The consumables summary: stock sheets and edge-banding rolls per material and colour, followed by the hardware list
Consumables summary: sheets, banding rolls and hardware, editable and exported as CSV.
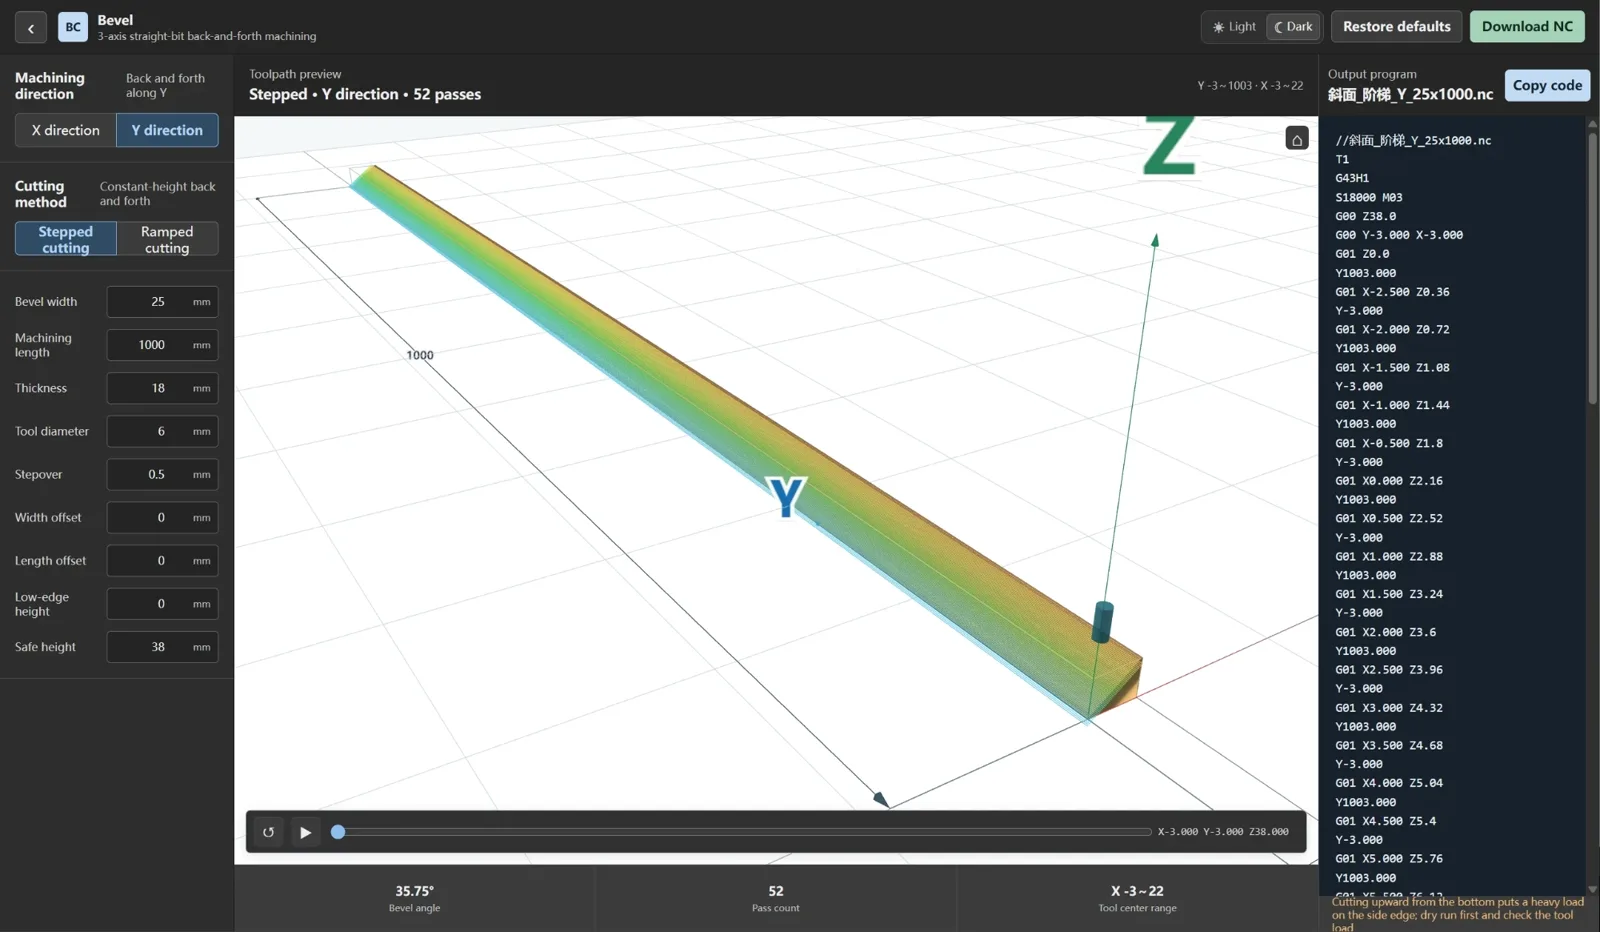
The Bevel tool: bevel width, length, thickness and tool settings on the left, a 3D toolpath preview in the middle and the generated G-code on the right
Bevel tool: a 25 mm bevel along a 1000 mm edge, previewed pass by pass.

CNC tools for the one-off jobs

Some parts don’t need a whole nest. Type in the sizes and your tool, watch the toolpath in 3D, and download the NC program.

Bevel
Straight-bit bevels along X or Y, stepped or ramped passes.
Milling
Grooves and slots milled into a panel.
Skeleton door
Frame-style door programs from a few parameters.

Free CC0 models, right in Blender

The model bar at the top of the viewport drops free furniture models straight into your scene, and the library website adds materials and HDRIs. Everything is CC0: use it in client work, no attribution needed.

Browse the asset library

Download BlendCab

The add-on is free to download. Sign up for a free 7-day trial of the design tools, then pick a yearly plan to unlock nesting and the model library.

BlendCab 0.2.75

Released November 18, 2026 · 5.5 MB

Download for Windows

SHA-256 02dab6983cfe6f1bd9ddf5e4a9a5a9c8471d30f8648b111f4357794ec96bc676

Only download BlendCab from blendcab.com. Copies shared elsewhere may have been modified. Older versions are retired and will ask you to update when you sign in.

Requirements

System
Windows 10 or 11, 64-bit
Blender
4.0 or later; 5.2 LTS recommended. Free from blender.org
Units
Millimetres (metric sheet sizes such as 1220 × 2440 mm)
Language
Follows Blender’s interface language: English, Deutsch, Français, Español, 日本語, 한국어, Русский, Tiếng Việt, 中文
Internet
Design works offline; cloud nesting and model upload need a connection

Install in five steps

  1. Download — don’t unzipBlender installs the .zip file as it is.
  2. Open add-on settingsIn Blender: Edit › Preferences › Add-ons.
  3. Install from DiskClick the drop-down arrow at the top right, choose Install from Disk… and pick the zip.
  4. Enable BlendCabTick BlendCab in the list. A BlendCab menu appears in the top bar.
  5. Sign inIn the Properties editor, open the Tool tab and sign in under Account & Membership.